


DAF DAVIE 5.6.1 source:
http://www.cardiagtool.co.uk/daf-davie-developer-tool-plus-davie-devik.html
Operating system:
Windows XP
Windows 7
Steps to install DAF DAVIE 5.6.1 developer tool:
- Insert DAVIE 5.6.1disc and install DAF Davie as usual
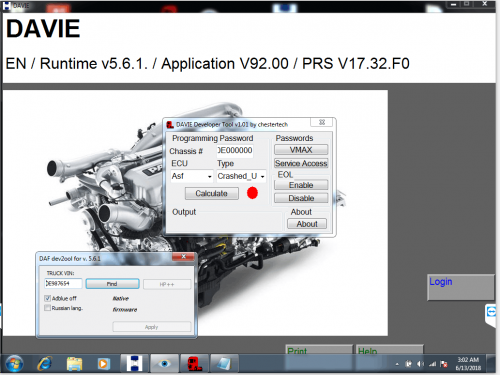
- Run DAF DAvie
Click on Login button
Enter USER ID ADMIN
Password ADMIN (two times)
- You’ll get the message
“Your user code is not installed. Install your user code per instructions”
Copy WKSCode file to USB flash and insert it to the laptop
Click OK in the message window
If everything is going right, you’ll see “Logout” and “Administration” buttons
If you get the message “Wrong code”, download WKS ISO file and insert it in Alcohol120%. Then click OK and the code will be installed.
- Insert ISO disc AS84_PRS16.40 to Alcohol120%
Click on Administration button in DAVIE
Choose Install Update, then Browse, choose Application folder, click OK and choose required language, then OK and OK again
Wait till it will be installed.
Click OK
Program will be restarted.
- Enter ADMIN/ADMIN
Click on Administration button in DAVIE
Choose Install Update, then Browse, choose Parts Rapido Subset folder – OPEN -PRS 16.40.F0 will be installed – OK
It will take more time for installation than App update.
- Extract files from 16.51 update. Click on Administration button in DAVIE
Choose Install Update, then Browse, choose folder with extracted files – Open – OK. Wait a little.
- Add user account and name it TECH. Click on Master technician to higher user rights. Click on Password and type TECH.
You will use this account for trucks diagnosing.
- Reboot pc and start DAF software and type TECH and password TECH.
Tip: DAF DAVIE XDc II Driver missing:
- Connect the DAF Device to DAF Truck OBDII port and switch ignition on.
Don’t connect to laptop by USB cable now!!
- After the LED statues are stable, install the DAF Software VCI from your desktop
Download the Software VCI driver:
https://mega.nz/#!xO4gnSCb!6yqsKxvVgRQzeHtNptPdrVBl4a99AT2Wf2Z7Orga0Kk
- After the installation successful, now insert the USB Cable to laptop USB Port, system will find now hardware, click “next” the driver will be installed automatically.
- Tested & Finished!